DIY Minnie Ears Tutorial
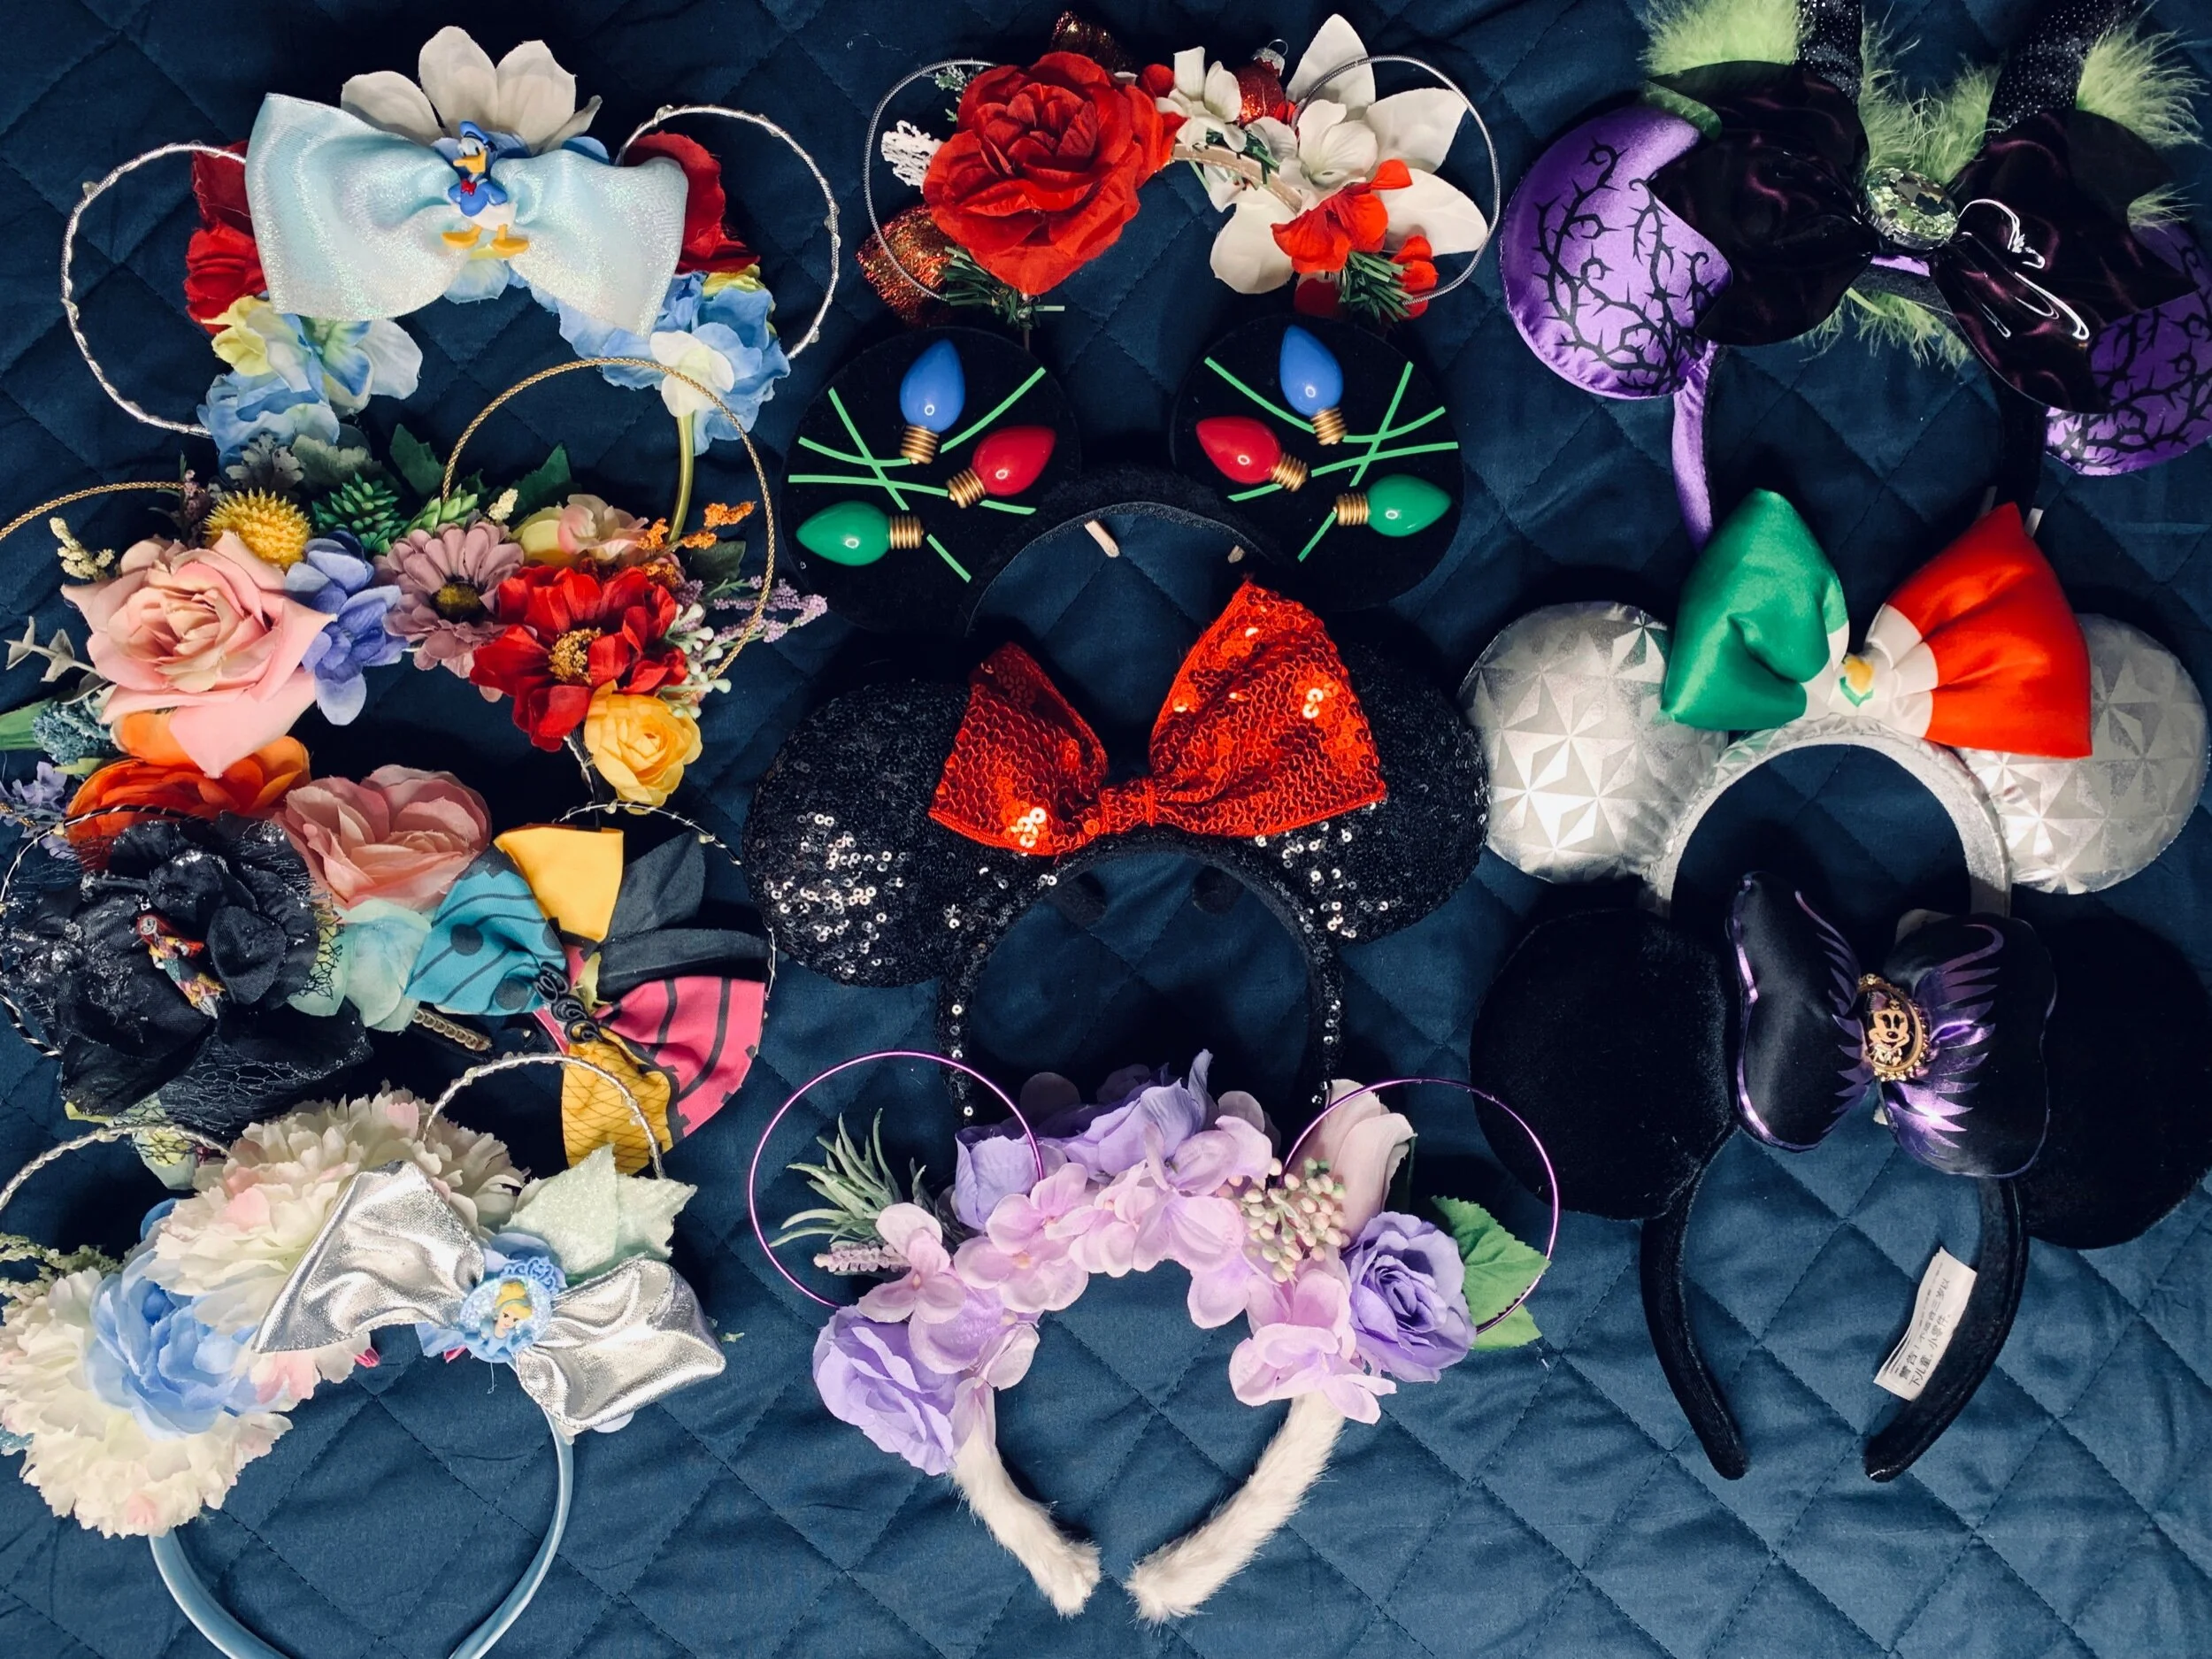
I own a lot of Minnie Mouse ears for a human in their mid-thirties. Let’s just get that out of the way. And when I end buying a lot of things on Etsy, I inevitably think…hmm, that’d be fun to make! You, with a cockney accent: “Hrmmm. ‘Tis a bit early for the Disney posts to start, my good Lady Selfie.” That’s an excellent point, random mussels seller but in order to get to Disney month, one needs to prepare for Disney month and so, here we are! Also, Disney things are never really off-season over here. #Notsorry. In addition, it being January, this is generally the time I get supes into trying out new arts and crafts whilst I still am all hyped on up that New Year energy.

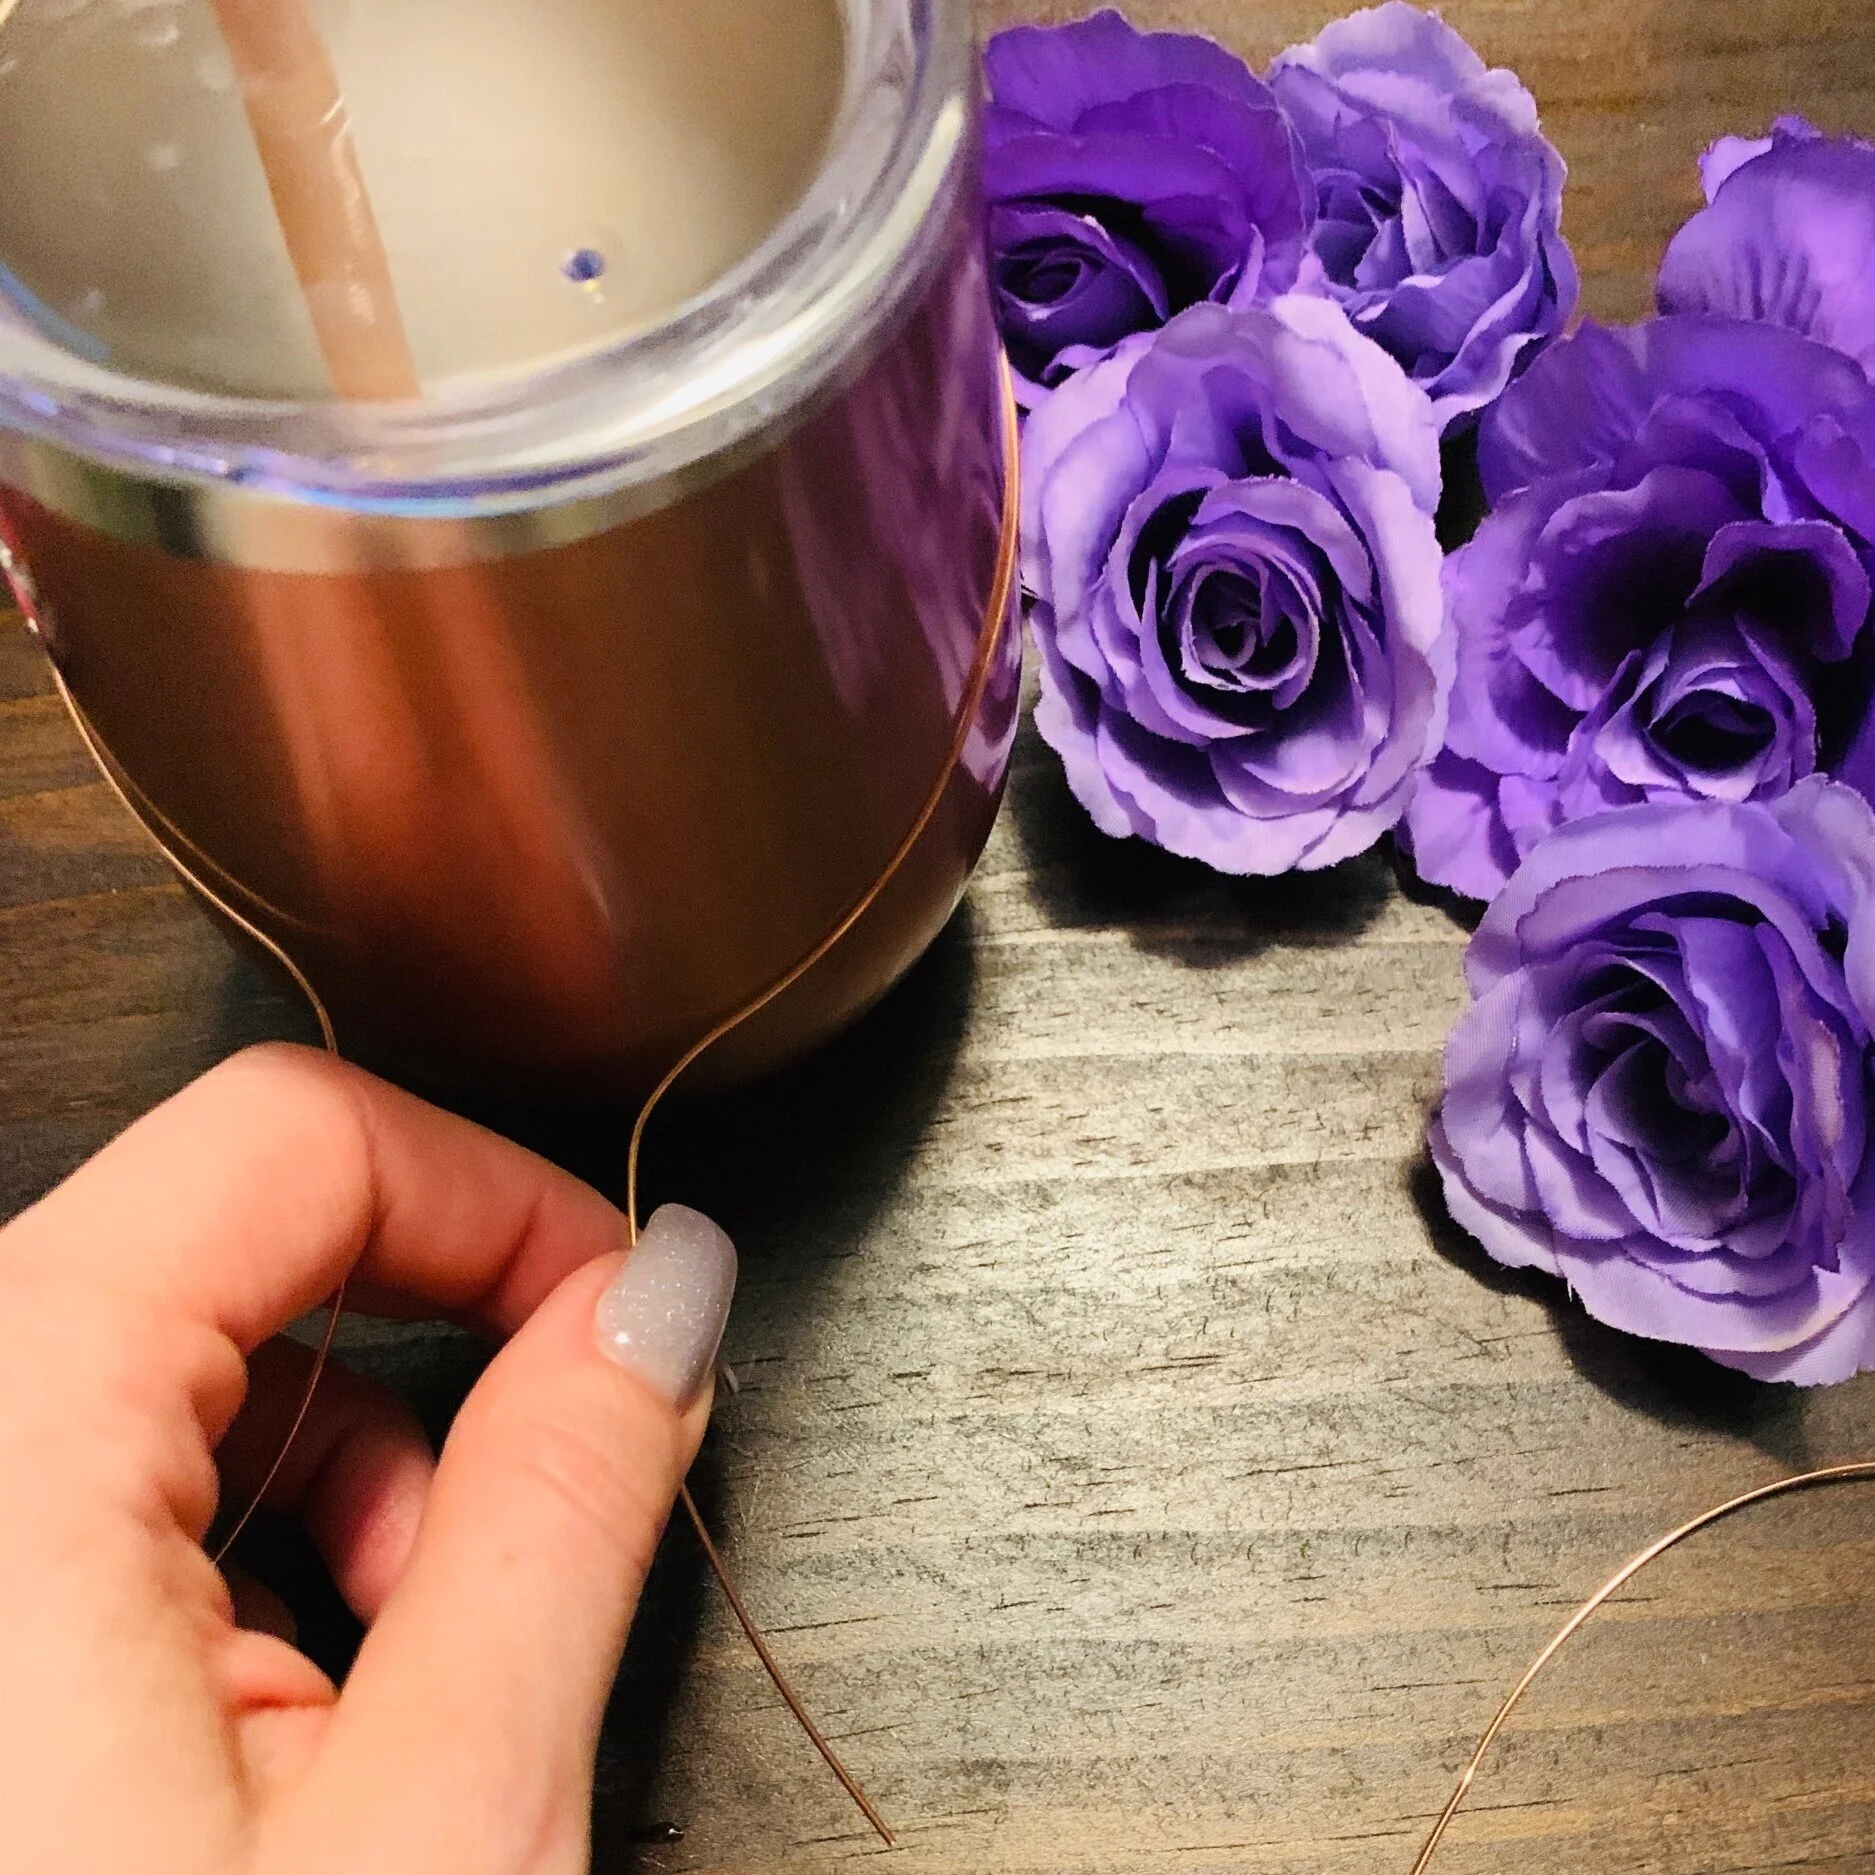
Ear Inspiration: Daisy Duck. I chose Daisy because I already have a bunch of characters and the lavender and light pink I associate with Daisy are beautiful in flowers. Because of this inspiration, I also chose a fuzzy white fabric to incorporate duck feather fluffiness.
Materials Needed:

-Floral Wire (This is really important because I bought jewelry wire which is way too thin)
-Headband
-Glue Gun
-Fake Flowers
-Ribbon or Fabric
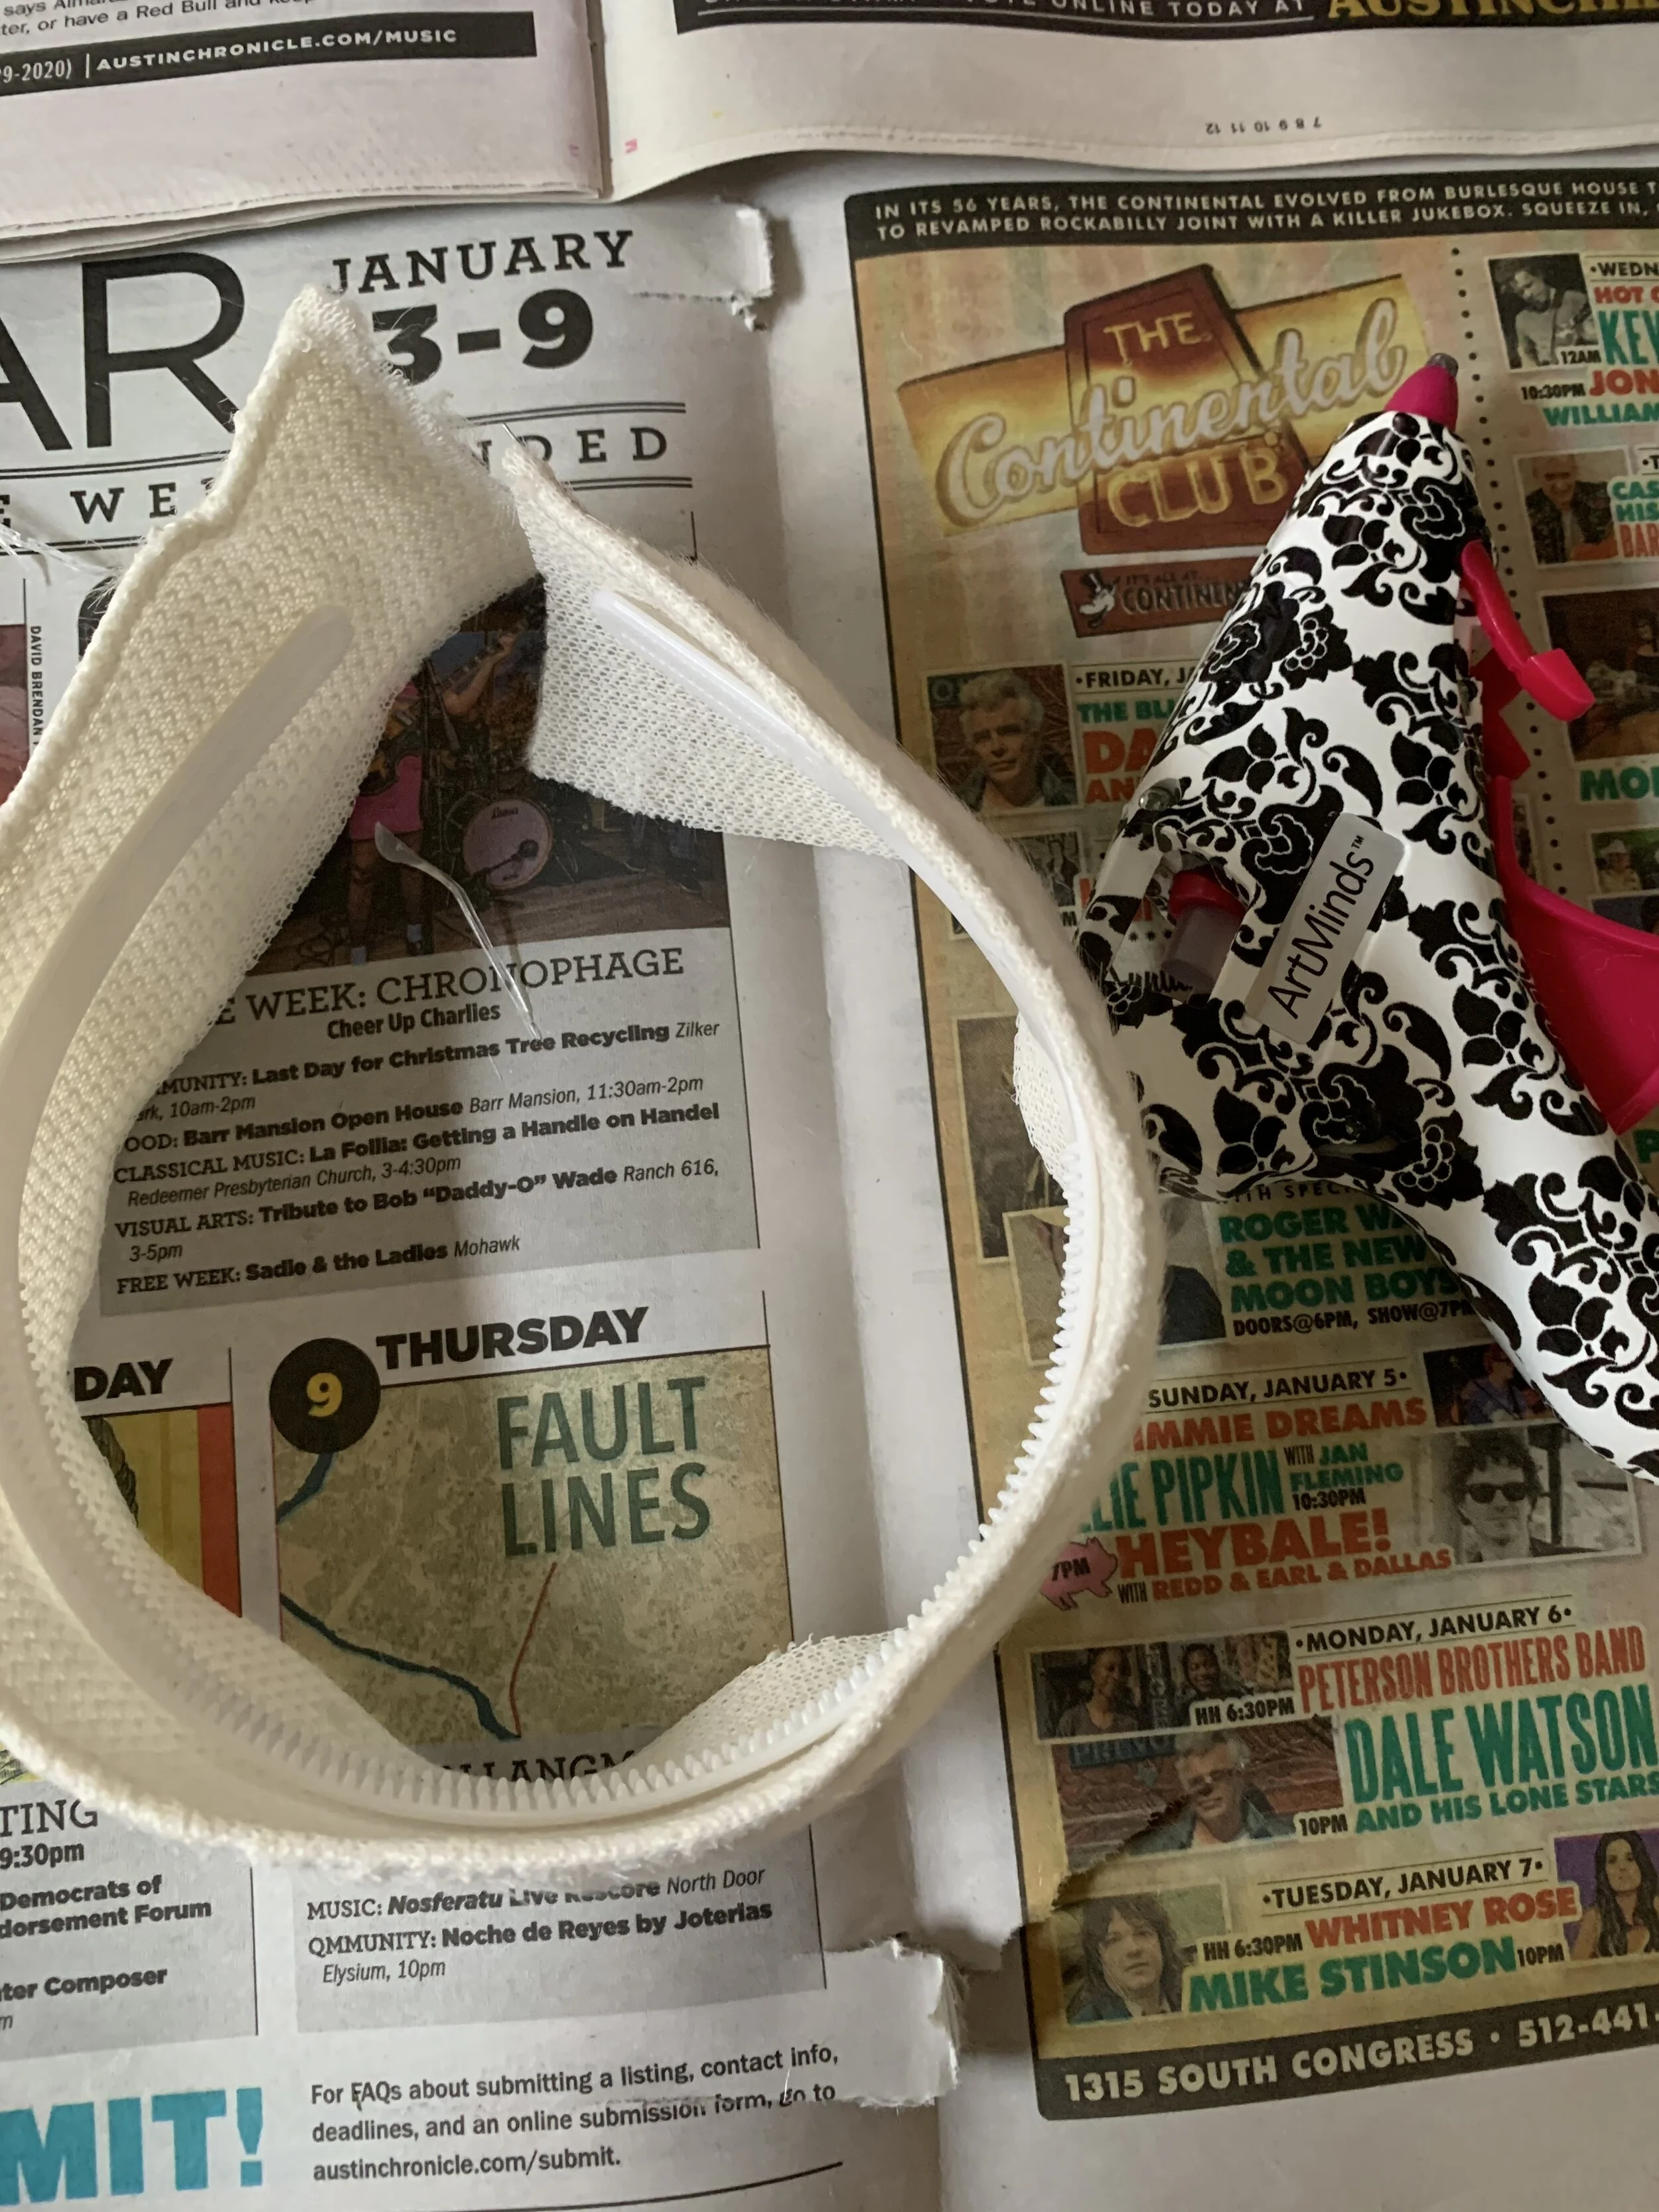

Step 1: Glue the fabric to headband. Make sure you fully cover the ends and keep the fabric seam on the inside. Optional upgrades in fanciness: Sew the fabric and/or gluing ribbon to cover the seam.
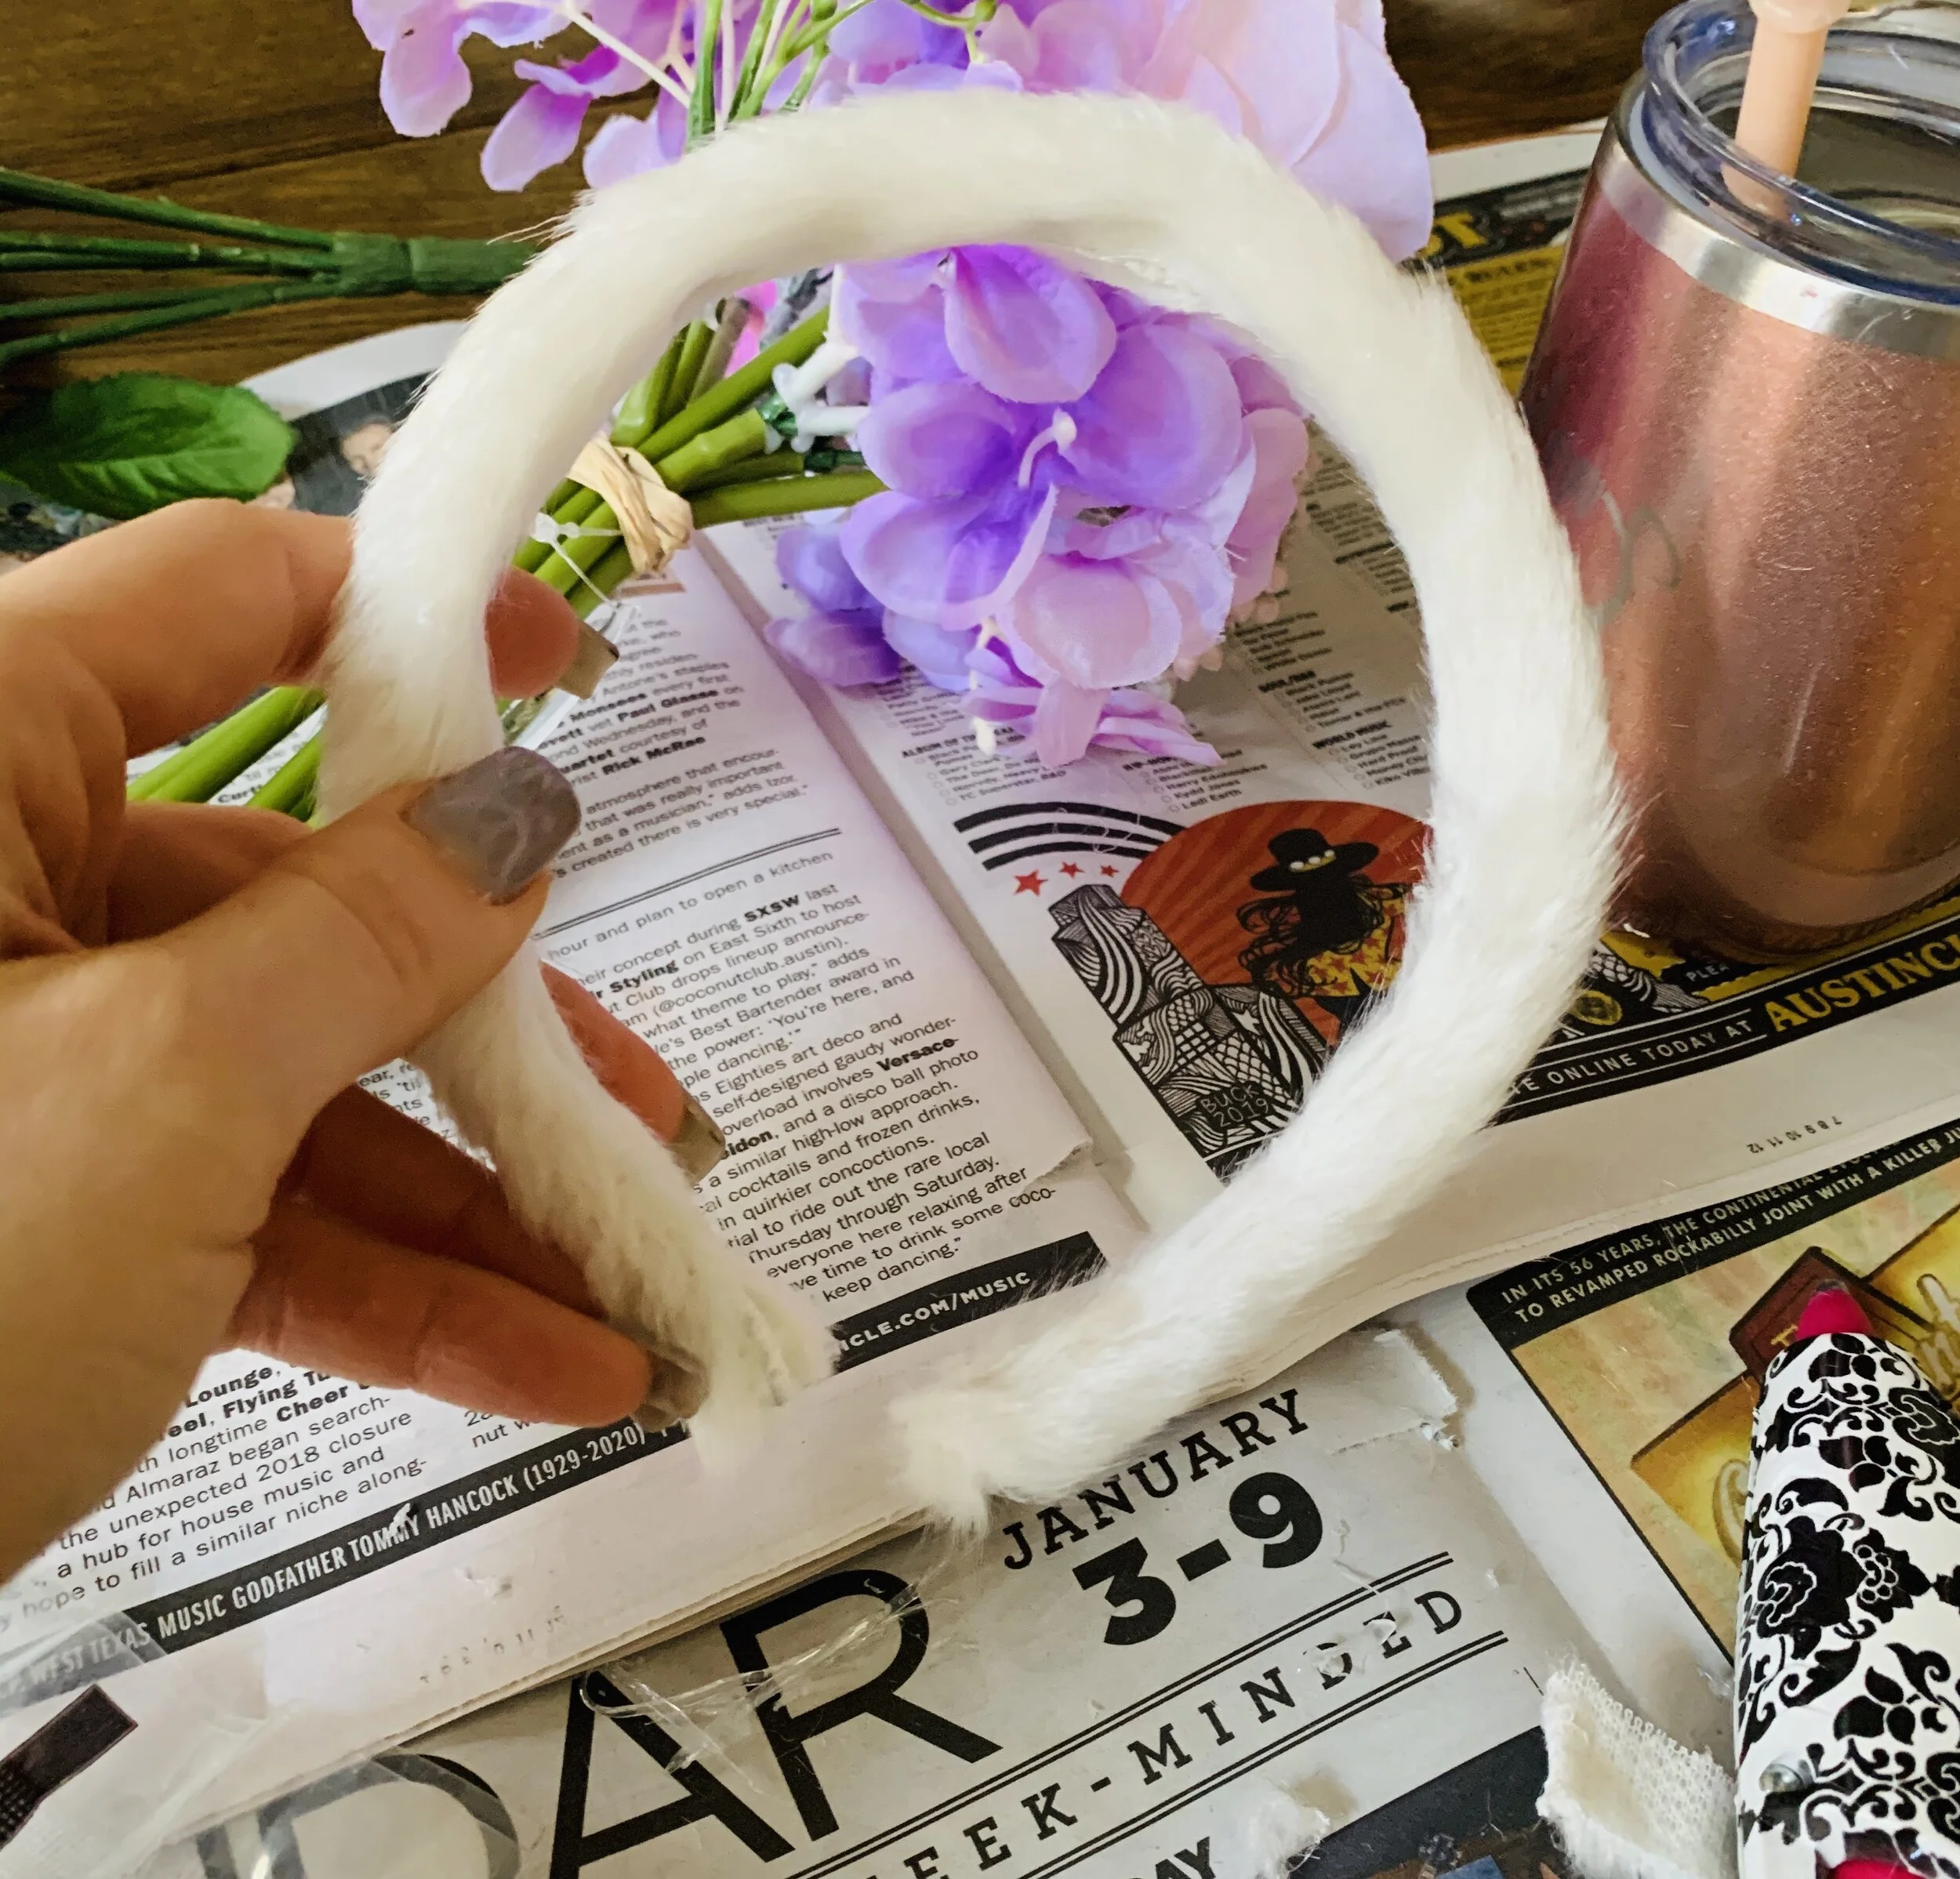
Step 2: Shape the wire around a glass or bottle. Make sure to not make the ears too small. With all the flowers, bigger is better. Also make sure to bend at the end of the circle and leave some extra wire to attach the ears to the headband.
Step 3: Wrap the extra wire around the headband. This took several tries to get the placement correct and because the shape gets messed up when trying to attach the ears. However, you can always reshape the ears after they are attached by smoothing them around the bottle/cup/glass you used to form the circles. Just make sure to maintain the bend on the bottom. Optional fanciness upgrade: Wrap fairy lights around the ears. You glue the battery pack to the headband and hide it with flowers.
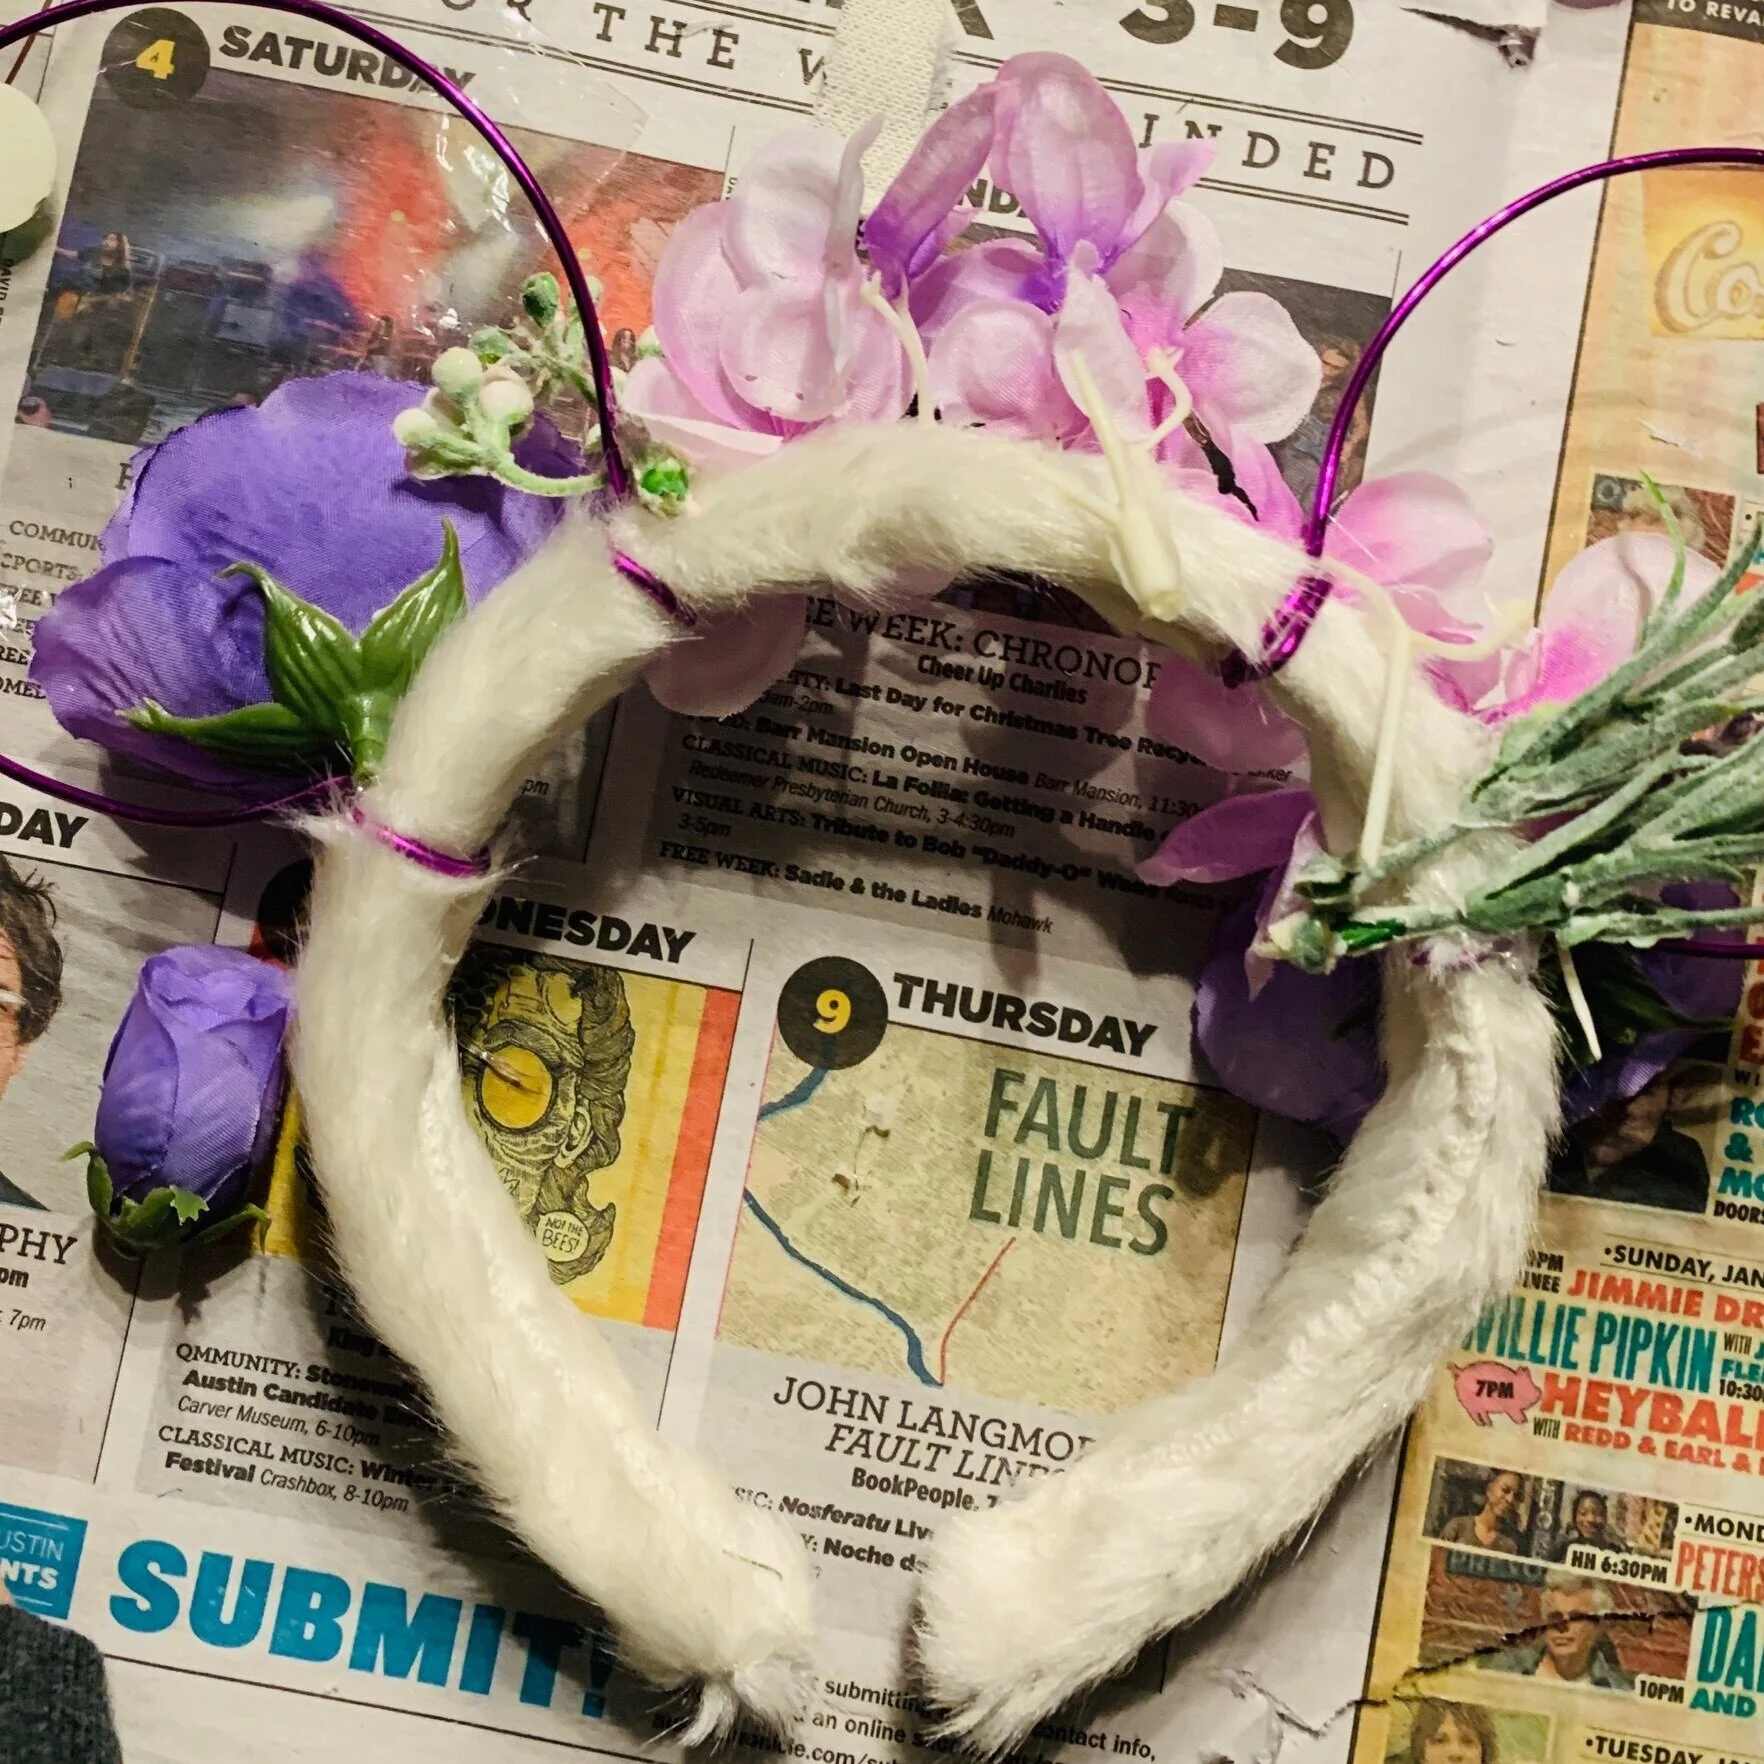
Don’t forget to fill in the back!
Step 4: Detach the flowers from the stems and attach to the headband. The real takeaway here is to ensure you cover anything you don’t want to be seen like the wire and the stems. This was the hardest part to me and I used the ears that I own as guidance for both placement of the ears but also, how to cover all that space including the top of the band and the back. “Umm, Selfs. Shouldn’t Daisy Duck…have a Daisy?” Make your own ears then, Sharon!
Things I Would Do Differently:
-Buy smaller flowers - Big flowers don’t have the right proportions. You can always make big flowers smaller by taking off a few layers but in general, use medium to small flowers. There’s not a ton of real estate.
-Buy a thicker headband: We’ll see after the wear test but the other ears that I own have thicker headbands. They weren’t available in-store but are online.
-Use regular ribbon: The fluffy white ribbon doesn’t really look purposeful to me. Maybe it’s because the headband is too small or my hair is too dark. I love the look of it until I put it on my head.
-Go to the Dollar Store instead of Michaels : This was a pro-tip I figured out AFTER I spent $24 at Michaels but could have gotten most things I need at the Dollar Store for five bucks. Michaels has way better floral selections but again, many of the flowers I picked were too big.

Would I Do This Again?: Well, I own all the things to make Minnie Ears now so, yes. However, I would do a few things differently and also, I feel like this would be way more fun with your friends or children or family with whom you are going to Disney. You’d be psyched up and you could get some help as you go! And drink wine. But not the kids. Or whatever you want. They are your French kids.
Certainly, the ears I’ve purchased from For the Love of Ears Co.* or Trinket Trove are way better. However, I do love chilling out, doing crafts and being creative so this was really fun and doesn’t take that long. If you want sewn ears. Plus, if you go the Dollar Store route, you could get most of what you need for $5 and when someone asks “Oh my gosh! Did you make those?” You can say yes!