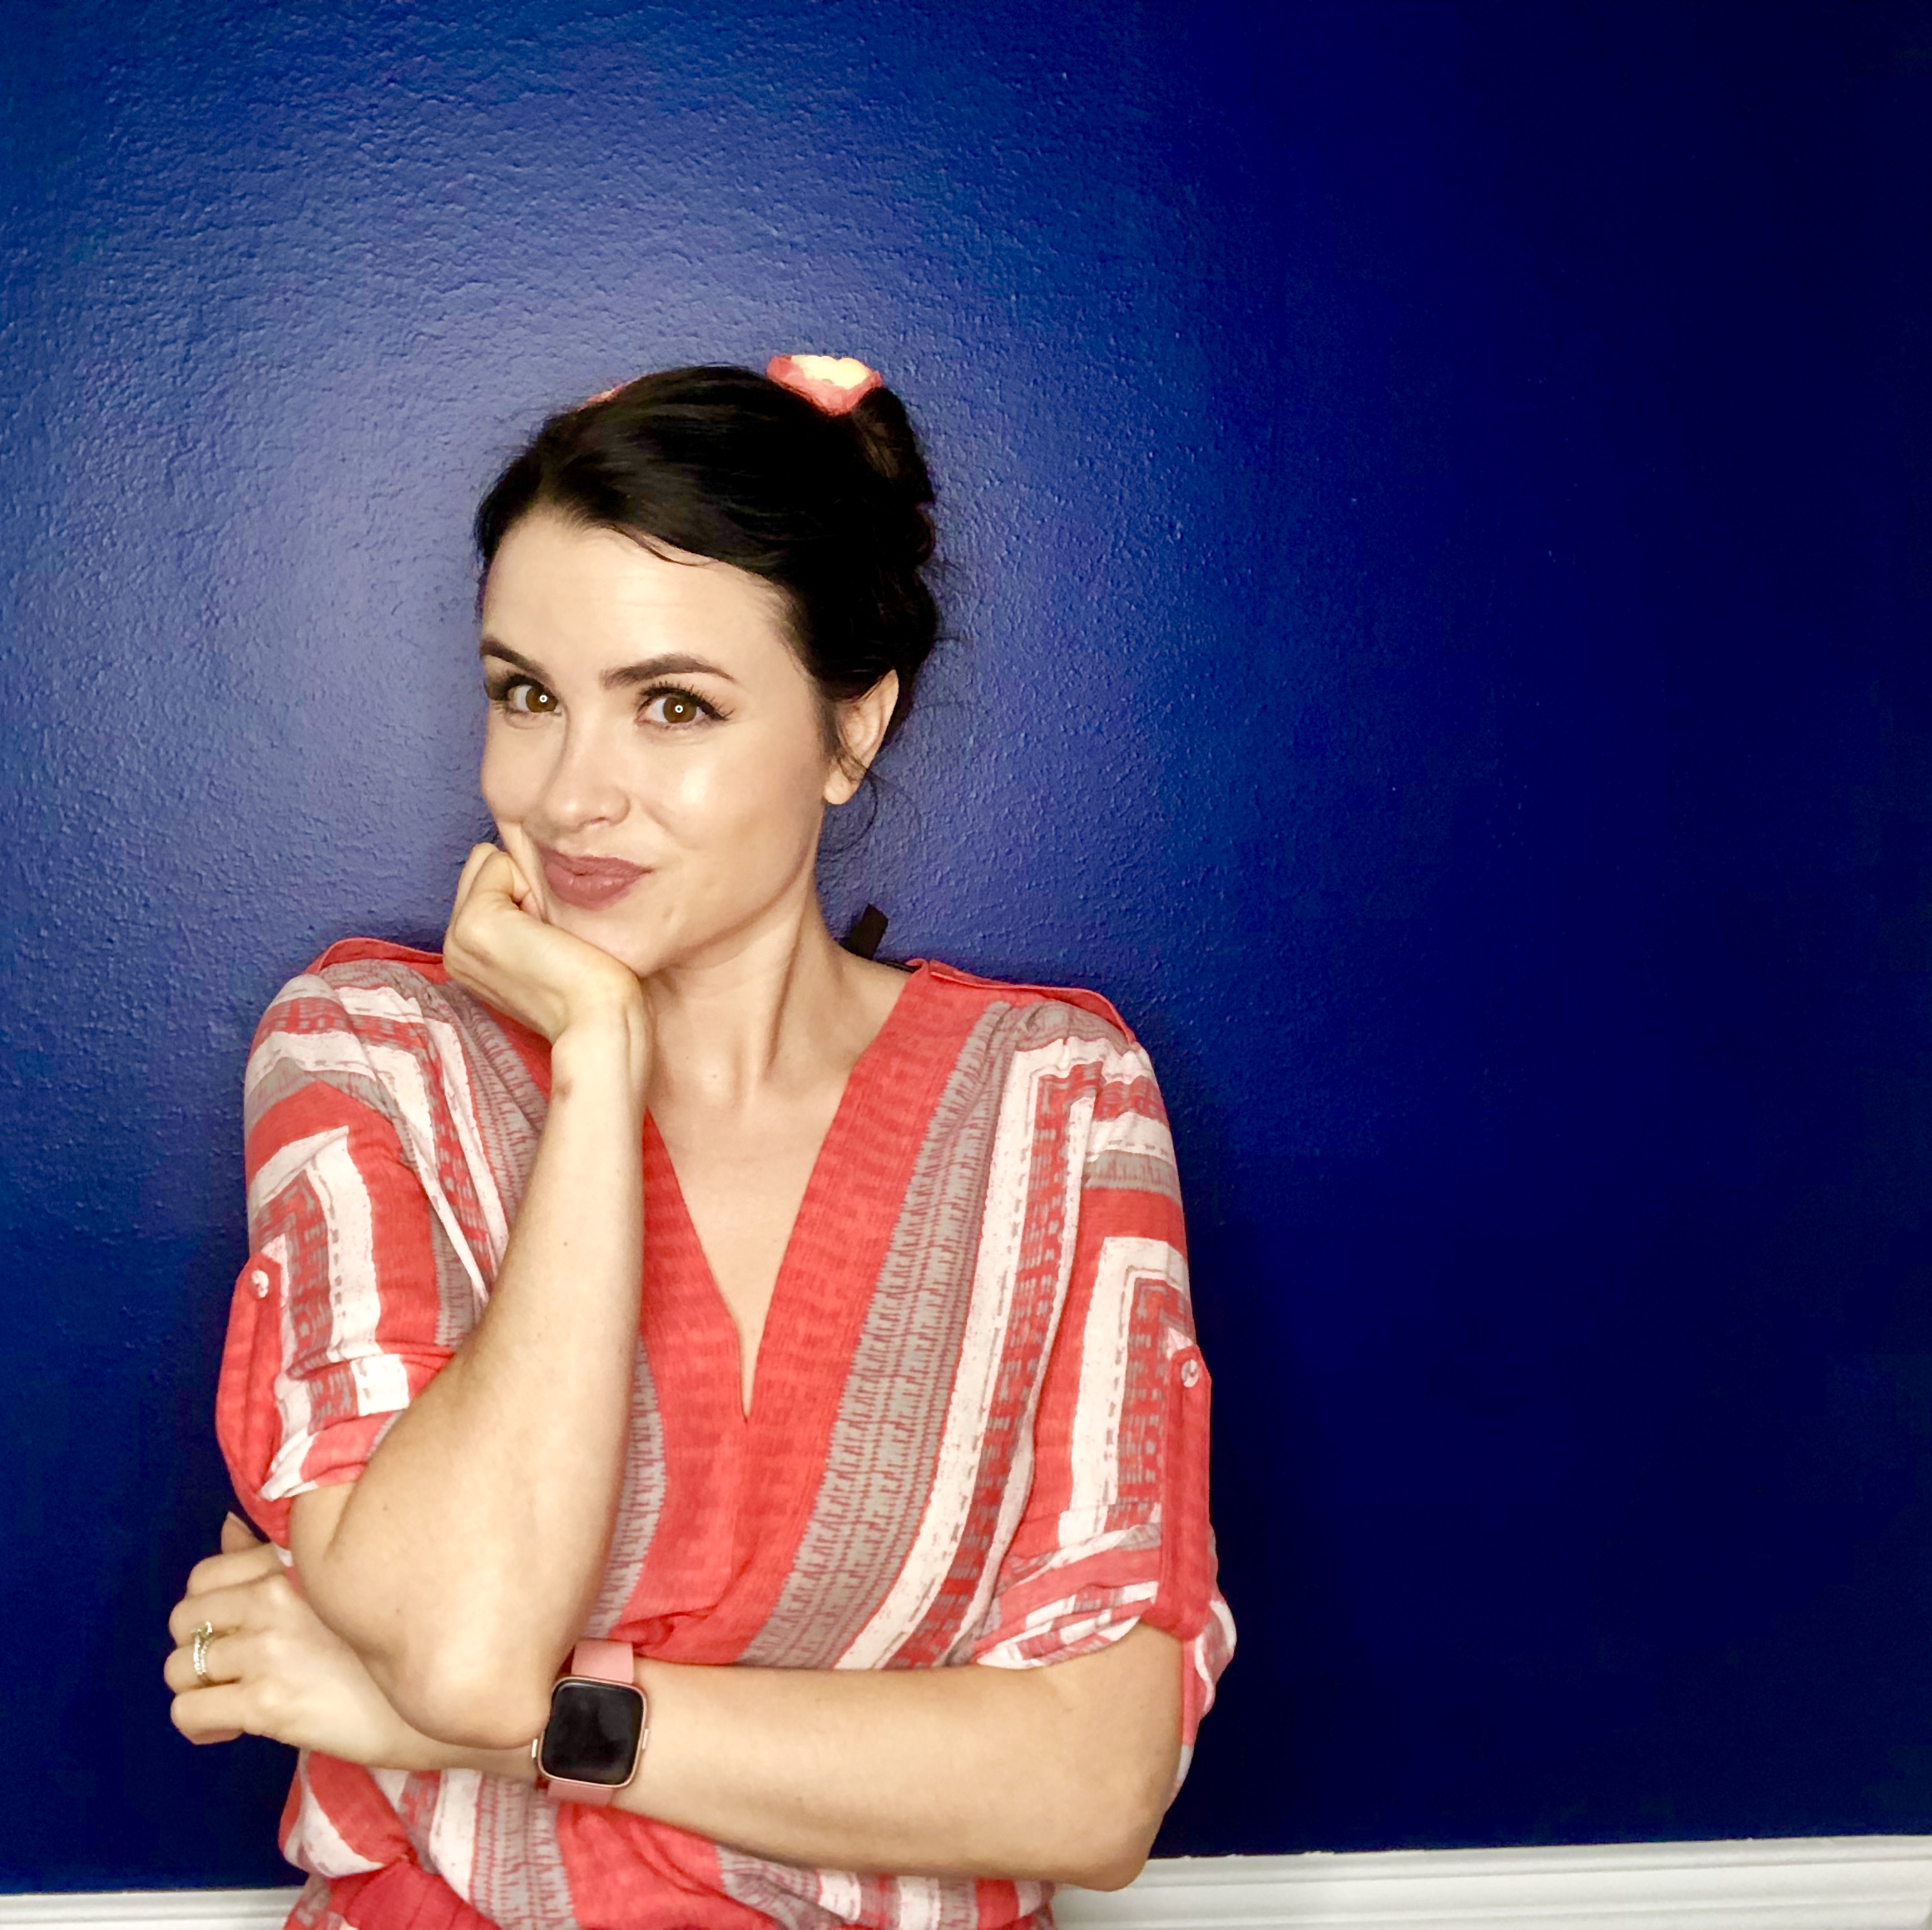
Selfie Does Fresh and Glowy Everyday Makeup
In doing this, I gained a whole new respect for beauty YouTubers because...oh my gosh, it is really weird and hard to capture yourself doing your own makeup and not look like a psycho. Like holy, Beyoncé! Do I seriously make those faces? Do I really stab that brush into my face? Apparently. We’ll just go with the rather huge caveat that I’m neither a beauty guru nor makeup artist but I think I can adequately explain the look here and uh, leave the tutorials to the professionals, no?
Products Used:
Eyes
Urban Decay Eyeshadow Primer Potion
Hourglass Ambient Lighting Edit, Volume 4 (sold out) (similar)
Sephora Collection False Lashes Hipster
Hourglass Caution Extreme Lash Mascara
Face
Laura Mercier Flawless Lumiere Radiance-Perfecting Foundation
Hourglass Ambient Lighting Edit, Volume 4 (Similar version + a bronzer)
Urban Decay All Nighter Setting Spray
Eyebrows
Lips
Sephora Collection Cream Lip Stain Liquid Lip, 71 Pink Cashmere

Prep and Prime!
Step 1:
Prep skin and prime eyelids. Prepping skin, of course. means cleaning and then, adding any serum or oil, eye cream and moisturizer. As this look does not include any sort of face primer, it’s really important for the skin to be as even and glorious as possible. Put a small amount of primer between your two pointer fingers and tap gently onto eyelid.
Step 2:

Ambient lighting Palette
Take your big, fluffy eyeshadow* brush and press the light ambient powder all over eyelid.
Step 3:
Take dim light (the darker setting powder) and place this into your crease. The color should blend from the outside corner, in. Which, to me, pretty much means “avoid your normal windshield wiper action” and just work the color in. All we’re trying to do is see a difference between the light powder we used to set the eyelid and this color.

Bronzer with smudge brush
Step 4:
Take bronzer (or darker brown shadow) with a smudge brush to outline and fill in the “V” in your outer corner. Take the big, fluffy eyeshadow brush from before and then, blend that color up and in. This is where you’re using that circular, blending motion.
Step 5:
Stamp your wing using a black or darker shadow and an angled brush. The key takeaway here is to look down at the mirror and then just follow the natural progression of your lower lash line. Take the eyeliner pen and fill in what you traced with the shadow. Then, you’re going to take that line and draw it down to your lash line - this is what creates the wing. Finally, you’re going to gently use your eyeliner pen as a stamp (so tilting the pencil so you have a long straight line) right next to your eyelashes from the inner corner to meet the wing. Make sure to fill in any areas that aren’t black. Namely, at the very outer corner of your eye.** Don’t worry if this isn’t perfect/don’t waste a ton of your precious time. We’re adding lashes which helps cover up any goofs.
Step 6:

I use this little spatula for mixing
Add one pump of the Nars illuminator to three pumps of foundation on the back of your hand. And here’s the critical part: Take the end of one of your brushes and mix these two together until there are no lumps. These are different formulas so they need to be mixed together to work together seamlessly.
Step 7:

Using fingers to blend foundation into nose
Using a foundation brush, make strokes on your hand to blend out the foundation to ensure that you’re not just putting a huge amount of foundation in one spot on your face. Use long strokes our from the center of your face to put the foundation on and then buff out the foundation using circular strokes to blend it in across your face. One major pointer I got here was using your fingers to ensure even coverage on small areas like around the nose. Also, we’re using a brush instead of a beauty blender because the BB will make the coverage too sheer.

Blending with brush
Step 8:

Concealer Triangle
Place color corrector just on dark spots (along bottom lash line and inner corner) and buff out. Then take concealer and place three dots on your face - one under each corner of your eye and then one below your eye so that you have a concealer-dot triangle. Then buff out the concealer using a fluffy brush. Take the same brush and set the under eye with the ambient light powder using a press-and-roll motion.
Step 9:

Scooping out cheekbones
Use dim light (the same one used on the eye) with a contour brush to trace right under your cheekbone in a soft-c motion. What you’re trying to do is scoop out the cheek bone. Take bronzer, and go over the same area. The idea here is to start from the back near your hairline and fade forward towards your nose. Blend inwards so the bronzer softens and you get that glow.
Step 10:
Take a blush brush and smile (because you’re having so much fun following my insane instructions, right?) At the place where your cheek stops, blend back towards your ear. Then, softly blend your blush and bronzer so you don’t have weird, harsh lines.
Step 11:
Highlight the top of the cheek from outer brow to the middle of the eye using a small brush.

Blending blush back
Step 12:
Add your fake eyelashes. Ensure that you put glue on the top of the band as well as the back. You can fill in any places that you need to by tight-lining (using pencil eyeliner on the inner rim of your upper eyelid). Tight-lining helps your eyeliner, falsies and real eyelashes blend together. I didn’t do it in this picture so you can also skip it if you’re like...I don’t wanna...draw inside my eye. But it really is a useful trick especially if you like doing colorful eyes or dark, smoky eyes.
Step 13:
Fill in brows. I don’t use a brow pencil. I quite simply just take the little mascara wand from the Benefit Gimme Brow and tame my crazy Papa Josè brows.
Step 14:
Press and roll with dim light on a fluffy brush. This helps smooth any texture and also, locks your look in place. If you’re looking to really, really lock it in, this is where you add your setting spray.

Clearly very professional with the finger smudges
Step 15: Add your lip! I don’t do anything special for this like overlining, I literally just apply and let the formula dry.
And then, go live your best Olivia-Culpo-Beauty-Adventurous life! If you have any questions or you’re like “I’m sorry. Please explain da fak this means” please comment below or hit me up on IG: @selfidoes . Also, go follow the very talented Courtney @touristtrappe
*See? Very technical. So skilled.
**If that was literal and utter nonsense, I apologize because that’s what makes sense to me. But I will say there are tons of great tutorials on youtube including one for hooded eyes (Makeup by Myrna) and also, Sephora teaches a winged liner class which I took and why these instructions made sense to me.